Layout Positions
Learn how to assign elements of a type to a layout position in your template. We explain the layouts for the different views and how you show the elements in the frontend of your site.
For creating an item type with the elements, please see create new types chapter.
Choosing the Layout
You have to choose, which of the elements you want to show on which view in the frontend. For example, you can show all elements of an item on the item view (full layout is used) and if you like you can show only some of them in the category view (teaser layout is used).

Here is a description where the different layouts are used.
- Feed layout: It is used in the feed view. Assign elements to this feed layout to show them in the feeds.
- Full layout: It is used in the item view. Assign the elements to the full layout to show them on the detail page of an item.
- Related layout: It is used by the related item element. Assign the elements to the related layout to show elements of one item in another.
- Teaser layout: It is used in the category view. Assign the elements to the teaser layout to show them on the frontpage, categories, alpha index or tag page.
- Item Module: Shows all layouts of the ZOO Item Module. Currently, the default layout is used by most themes of the Item Module. Assign elements to this layout to show them in the Item Module.
- Search Plugin: Shows all layouts of the ZOO Search Plugin. Assign elements to the default layout to show them in the search results.
Note The layouts of the different templates and apps may vary, so here are the most common ones, which are available in most apps.
Each of the above mentioned layouts have different predefined positions. If you want to edit the positions of a specific layout or if you want to create a new layout, follow custom-template chapter.
Assigning Elements
Click on the specific layout (see first part of this tutorial for a description) to assign the elements to it.

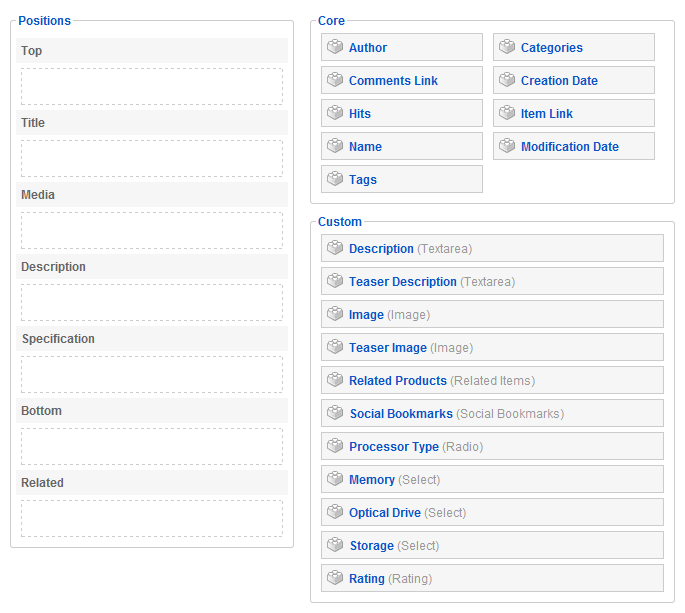
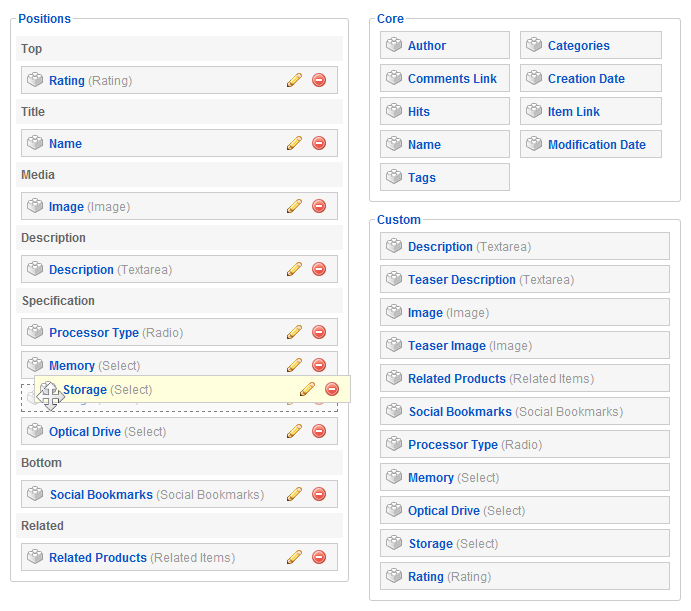
Now on the left hand side you see all available layout positions. If you are editing a predefined item type of ZOO there are already elements assigned. If you've created a new item type the left site is empty.
On the right side you see all elements of the type (see this tutorial). On the top you see the core elements which are available for every type and underneath it the custom elements which you have assigned to the type.

To assign the elements to the layout positions, simply click on the little brick icon next to the element name and Drag & Drop it to its new position.

Each element you drag to a position will be automatically opened to configure it on this position. Check out our tutorials for each element to see all settings for the elements.
After clicking Save the elements will be shown to the visitors of your site in the frontend of ZOO. Of course, you can assign elements of the item type to multiple layouts to show them in different views.